Creating an AMDS compliant SQL Server database
The term AMDS refers to the Asset Management Data Standard. The project is developing a data standard for the New Zealand land transport sector.
Update: want to know more about the AMDS? Check out our independent resource for the AMDS over at amdshub.co.nz.
In an earlier post, we did an unpacking of the AMDS output files. These output files (or releases) are how the standard is being distributed to the sector. One of the files included in these releases is a .sql file. This is basically a large script, to help you construct an AMDSified SQL database.
So in today’s post, we will use one of these .sql files to create an AMDS-compliant SQL Server database. We will then dive in and check out the asset and lookup tables to see what is included out of the box.
If you are familiar with the RAMM interface, we will also see how one of these tables looks in a RAMM environment.
Let’s jump in…
Step #1: Creating the database object
For this exercise, I am using a fresh instance of SQL Server running inside a Docker container. So the first thing we need to do is create a new database.
Believe it or not, this is possible with a single line of SQL code. I am going to keep things simple and call the database AMDSdemo.

After running that one line of code, we have a sparkling new AMDSdemo database. At this point, it is essentially just an empty container with not a whole lot in it…

What is important is that it's ready to be filled with our AMDS-compliant data structure.
Step #2: Running the AMDS .sql files
Next we will use the .sql file taken from the AMDS-2021-07-12 Release. This includes coverage for assets such as;
pavement layer, surface layer and subgrade
poles
barriers
crash cushions
Opening the AMDS .sql file from the release reveals all the code in the script.
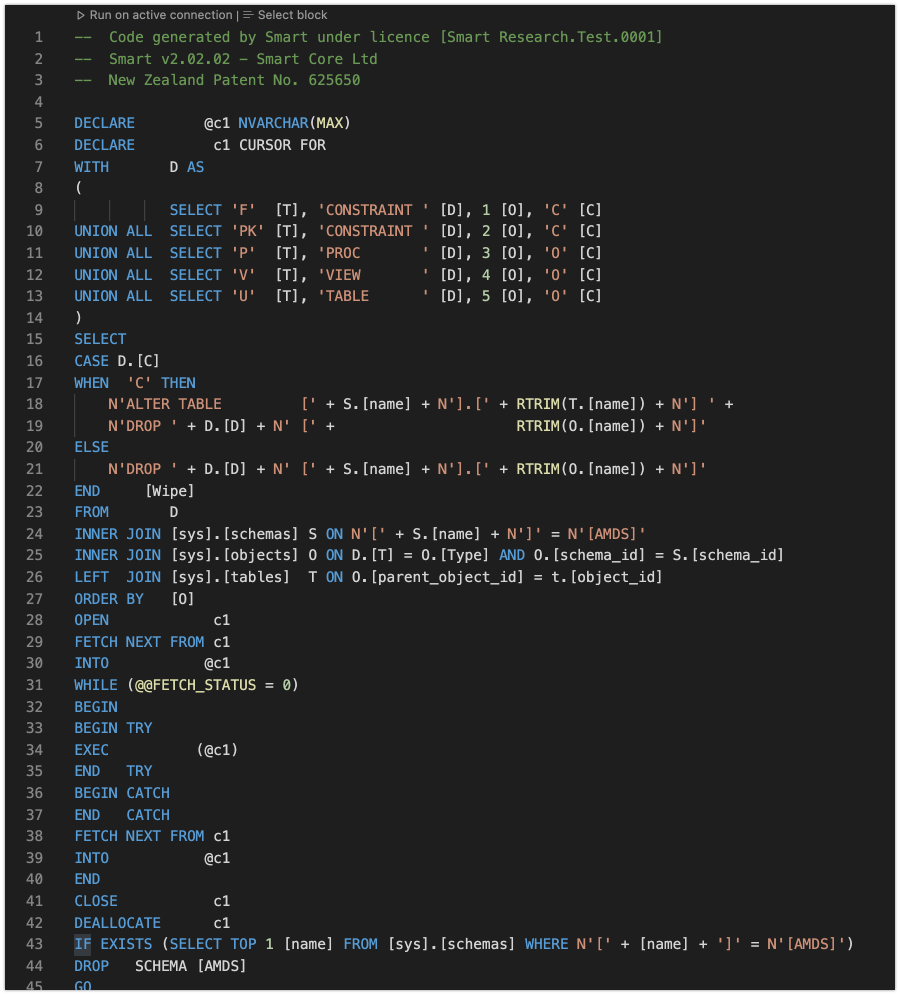
There are about 4,300 lines of code in this particular file. This code will perform a series of actions to set up the AMDS data structure in the database.
The actions include doing things like:
creating asset and lookup tables
populating lookup lists
setting primary keys
Executing the query runs all the contained code…
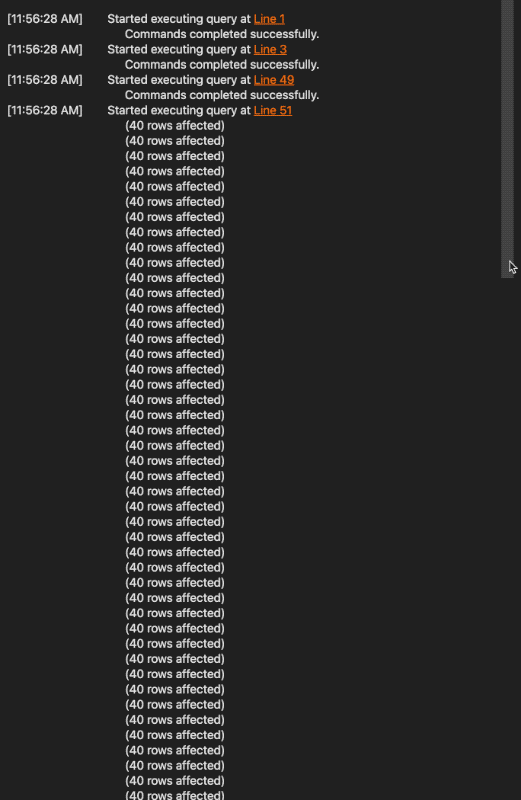
As you can see in the above image, the code successfully ran in around 7.5 seconds. This is all the setup required for now, and it already allows us to dive in and look at the tables that were created.
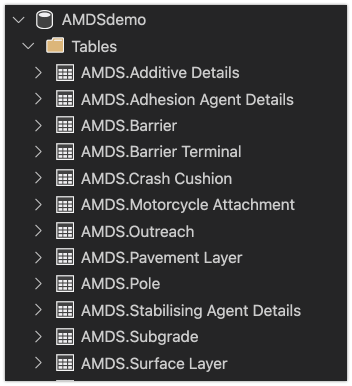
What do the AMDS asset tables look like?
To see what is in the database, we can view all the tables and run some queries on them.
Let’s choose the pavement layer table for this example…

This query will return all the records currently sitting in the pavement layer table. What you will find though, is that there are no asset records included. And this is true for any of the asset tables out of the box.

Although this may not be immediately obvious, it does make sense. The purpose of these scripts is not to generate any data.
Instead, the scripts create the structure of the asset tables in an AMDS-compliant way. Running a SELECT query will therefore return all columns from the pavement layer table, just without any actual asset records.
These tables also show metadata about each attribute included, as seen in the screenshot below.

You can see the details of all the typical pavement layer attributes you would expect to see. Items such as layer thickness, materials, location details, construction date, design life and so on.
What about the lookup tables?
The lookup tables are a little bit different to the assets. These do actually come pre-populated with standardised values. This is because standard lookup lists are part of the scope of the AMDS project.
Like the above, we can query one of these lookups by running a simple SELECT query. Let’s use the additive table for our example…

The results of our query return everything currently sitting the Additive lookup table…

The results show the following attributes, which describe the ten pre-populated additive options;
Id: A unique identifier for the lookup value. This is unique only within the containing lookup table itself.
Name: The common name for each additive.
Description: Further explanation of the additive name (where needed). For example, this tells us the additive with the name PMBP is referring to Paveflex PMB. Not every additive has a description (see: Plastic, Cellulose fibre and Crumb rubber).
Effective From and Effective To: Think of this as a way of versioning the lookup values. Using timestamps allows for some more smarts over an active/inactive flag approach. You will see in the screenshot above that some of the values have already been end-dated. These additives have a date populated in the Effective To column.
UUID: A UUID is a Unique Universal Identifier - which is a unique ID across the entire database. This contrasts with the Id attribute, which is only unique within the context of the given table. For example, every lookup table could contain a record with an Id of 1. However, you could still differentiate between these records through their UUID.
Modelling the additive lookup in a RAMM environment
If you are more comfortable seeing these things in a RAMM context, check this out. What I did here was to create a RAMM User Defined Table (or UDT for short) using the RAMM UDT Manager application.

I designed this new lookup table to hold the AMDS Additive Type information.

The UDT mirrors the information from the SQL Server database above. So it includes attributes for the Id, description, effective dates and the AMDS UUID.
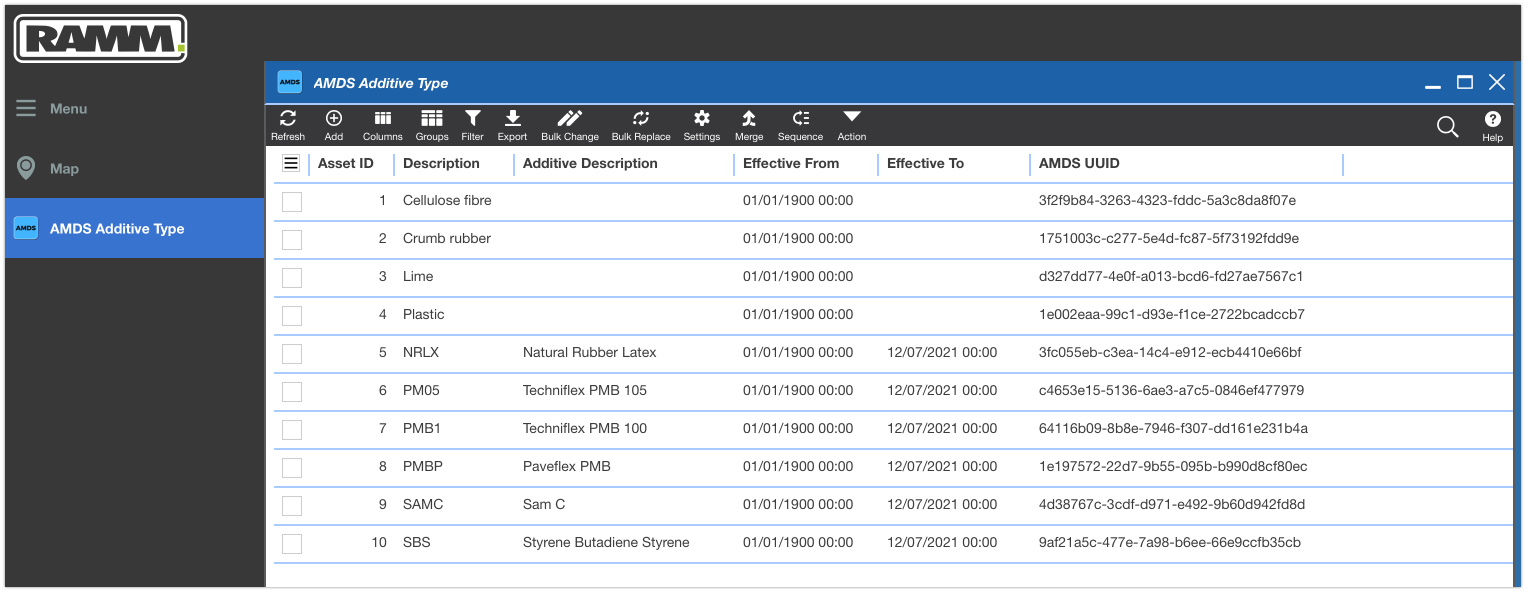
With the data now populated, we can see the ten pre-populated additive types included in the AMDS specification. This gives a quick demo of what lookup tables from an AMDS release would look like in RAMM.
And that is a wrap for today’s post. We created a new SQL Server database object. We then executed one of the AMDS .sql files and had a dig around the database. Then we mirrored one of the lookup tables in RAMM.
Check back soon for more TalkData articles on the AMDS, or simply Subscribe to our Newsletter to get updates sent straight to your inbox.